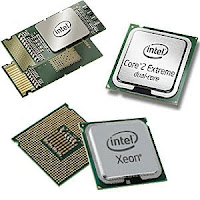
To replace the existing Microprocessor into ZIF socket :

Do it your own
1. Check if the new microprocessor is compatible with the motherboard.
2. unplug the System form the main power supply .
3. Unplug all the output device which in your system.
4. open the cabinet with the help of screwdriver.
5. unscrew the microprocessor fan .
6. remove key lock form the fan
7. Remove the fan covering the microprocessor
8. lift the lever beside the microprocessor . this loosens the microprocessor form the slot.
9. remove the processor keeping in mind that pins are not bent or damaged.
10. remove the microprocessor form the anti static bag by holding the microprocessor the edges
11. check that all pins on the underside of the microprocessor are straight.
12. align the notch on the microprocessor with the alignment notch on the motherboard .
13. Gently place the microprocessor in the socket.
14. press the microprocessor firmly in the socket keeping in mind that pins are not bent or damaged.
15. push the lever back down such that parallel to the motherboard and locked in place take care not to break the lever while pushing the lever .
16. Connect the microprocessor fan over the microprocessor & fan cable connect to power supply
17. modify the required jumper setting if any as per the motherboard and microprocessor manual.
18. Close the cabinet.
19. Connect the all component of the system.
Important Note:- The LIF socket does not have a lever to dislodge the microprocessor. you have to use a little force same step following as above
0 comments:
Post a Comment